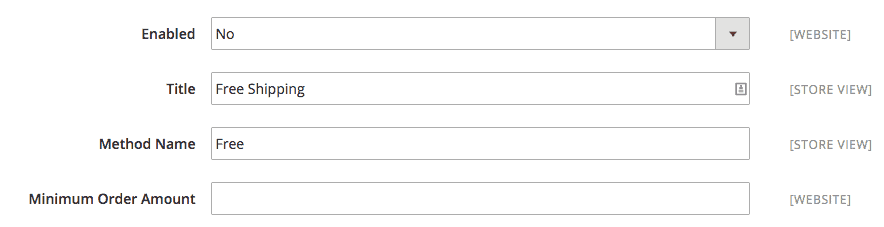
Magento enables the user to manage the sale of each order. This can be done manually with native Magento functionality. In this section, we will discuss how to configure the shipping methods and default payment gateways, and what is required to get them up and running to take payment for your first order. 1. Shipping Next we’ll look at the Shipping Methods sub-menu where you can give your customers some delivery options. In this guide we’ll show you how to set up a Flat Rate shipping method and a Free Shipping option if your customers spend above a certain amount (see Minimum Order Amount below). More advanced configuration is available, such as Table Rates and direct integration with couriers such as DHL and DPD. However, this will be addressed in a future guide. First we’ll look at Free Shipping. This is a great way of enticing your customers to spend a bit extra by offering free shipping if they spend over a specified amount, e.g. £100. To activate this:
- Enabled– change to yes
- Title– set this to what you want your customers to read on the checkout, e.g. Free shipping next day
- Method– as with Title this will be displayed to the customer as well, as per screenshot
- Minimum Order Amount– this is where you set the amount you want your customers to spend before this option is available. You should only enter the number, and not the currency symbol as this setting can, in theory, be used by multiple currencies when used with multi-store
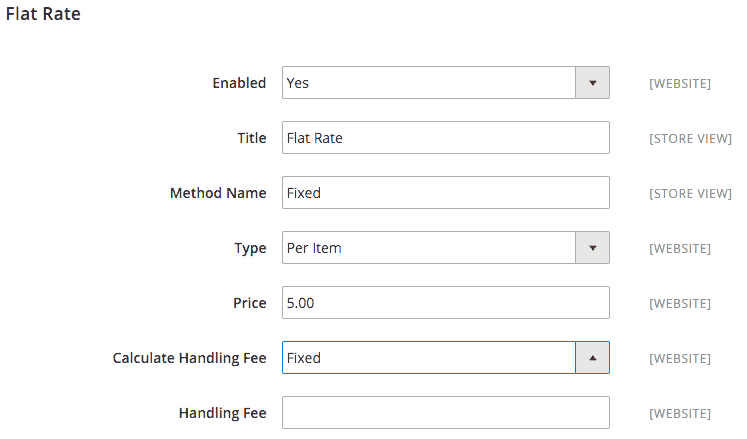
 That’s all you need to do to set up a Free Shipping option for your customers. Now let’s move onto the Flat Rate option, which will give you the opportunity to set a fixed shipping price per item or order. This is straightforward to set-up:
- Enabled– change to Yes
- Title– set this to what you want your customers to read on the checkout, e.g. 2–3 working day delivery
- Method– as with Title, this will be displayed to the customer as well, as per screenshot
- Type– set the shipping fee to be calculated Per Item or Per Order
- Price– set what you want to charge for delivery, again please only enter the number, and not the currency symbol
- CalculateHandling Fee – if you want to charge an order handling fee you can set this to be a flat fee per order or a percentage value of your order
- HandlingFee – if you leave this blank, your customers will not be charged an order handling fee. If you wish to charge an order handling fee, simply add the numeric value of the flat fee or percentage you want to charge (e.g. for £10, just add ‘10’ with no currency symbol – and for e.g. 6%, just add 06)
 That’s all you need to do to provide your customers with essential delivery methods. 2. Payments So with shipping configured, let’s look at payments, and the sub-header Payment Methods. As this is just an introductory guide, we’ve only provided simple instructions to get started with configuring PayPal Express Checkout. Other payment gateways such as Braintree are also provided natively with Magento 2, and we’ll provide more information in a later guide should you require this. First of all you should set the Merchant Location to the country where you as a merchant are based. This should pick up the Default Country you set in the General configuration earlier in this guide, however, you can change it if needed.
  Next, we’ll look at the PayPal set-up under the PayPal Express Checkout section. Expand the accordion and you will see a Configure button, click this and it will display both Required PayPal Settings and Basic Settings – PayPal Express Checkout. Required PayPal Settings is all we need to look at. Simply enter your email with your PayPal Merchant account and click Get Credentials from PayPal. This will open a separate window where you can login to your PayPal Merchant account. Once logged in you will see the API Username, API Password, and API Signature, which can be copied and pasted into the Magento admin fields. After you’ve entered this information you need to Save Config before being able to enable PayPal Express as a payment option by changing Enable this Solution to Yes. 3. Tax management With PayPal Express set-up, you’re getting closer to accepting payments on your site. Before we get into creating your products, we need to make sure you’ve got some basic tax rules in place. How you set this up will depend on a few factors such as:
- Country you’re selling to/from
- Products you’re selling (some countries have tax reductions on certain types of products such as food items)
- Customer type (e.g. some companies may not have to pay tax on products they buy).
In some countries there are more considerations. However, for this guide we’ll look at just setting up one basic rule for the UK market, which is a 20% VAT for all products. First you need to verify a couple of settings in Magento Configuration, by clicking onStores > Configuration > Sales > Tax. There are plenty of configuration possibilities here, so double check with your accounts team to ensure everything meets your requirements. For now, we’ll just look at the essentials you need to check / change. 4. Calculation Settings The default setting assumes you add product prices without VAT, and that Magento will add the tax for you. 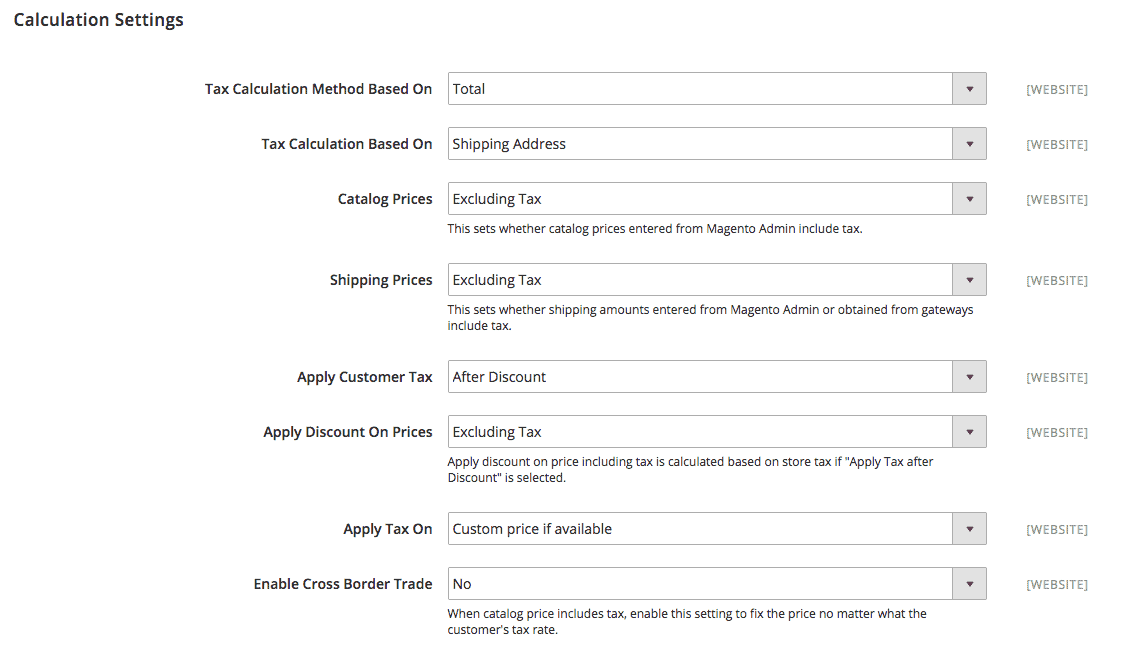 5. Default Tax Destination Calculation Change/verify that this is set to United Kingdom (or the country you’re selling in).
 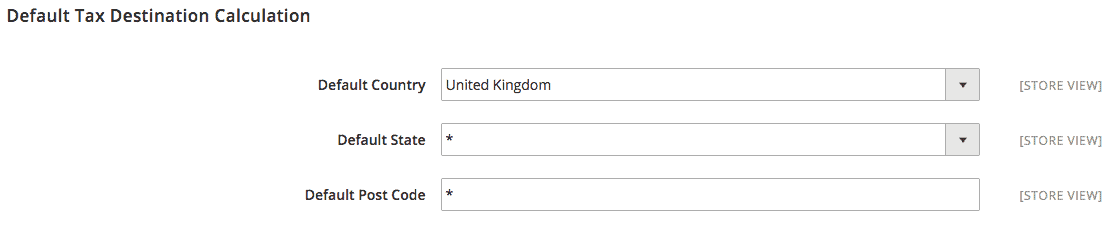 6. Price Display Settings Set this to Including Tax for Display Product Prices in Catalog if you’re a B2C company and selling directly to customers.
  7. Shopping Cart Display Settings If you want to display the prices including tax/VAT on the cart and checkout, change both Display Prices and Display Subtotal to Including Tax. If the above is changed you should also set Include Tax in Grand Total to Yes.
 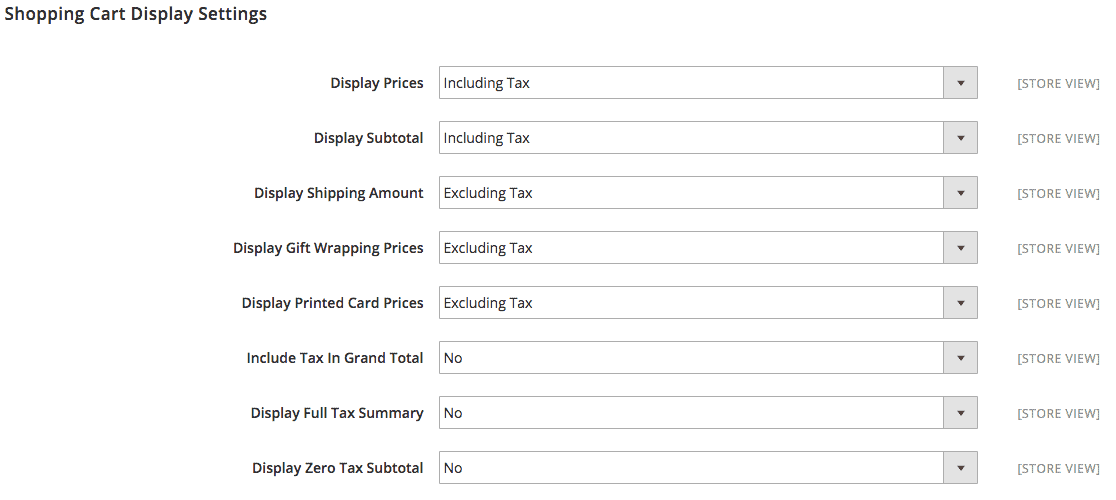 8. Order, Invoice, Credit Memos Display Setting. For this, we recommend replicating the settings you made for Shopping Cart Display Settings in the previous step
 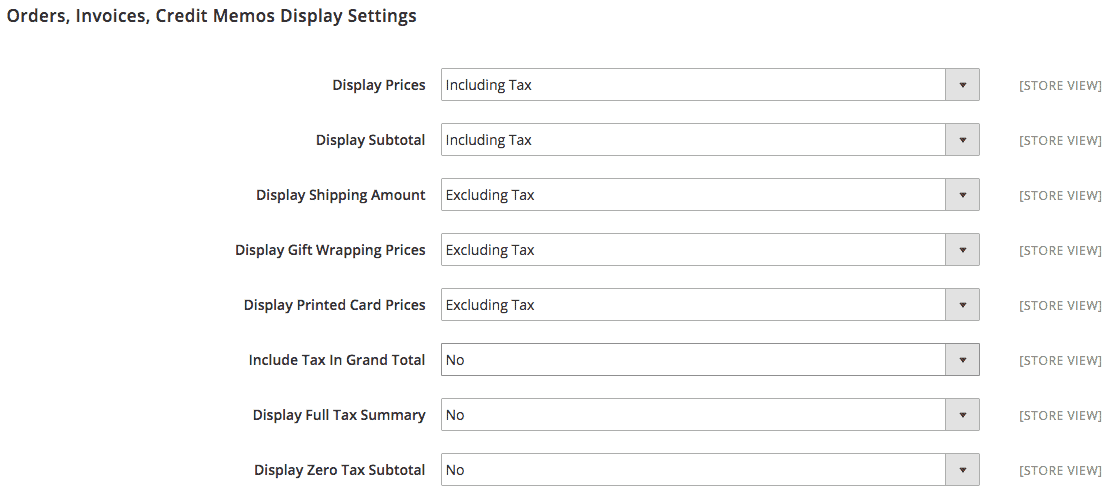 Configuration checks completed, you can now create the VAT tax rule, which you can find under Tax Management (Taxes) in the Stores section in the main navigation. In Magento 2, it is much quicker to set this up than in Magento 1 as you can create Tax Zones and Rates while you create your rule. So let’s click on Tax Rules, followed by Add New Tax Rule.
 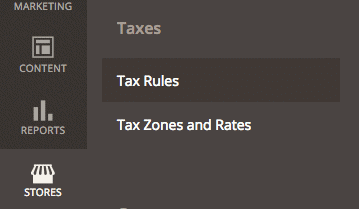 Add the name of your Tax Rule, e.g. VAT and then click the Add New Tax Rate link below the Tax Rate.
  Clicking on the Add New Tax Rate will open an overlay where you can enter your new Tax Rate, and you have to simply add the following:
- Tax Identifier– VAT (or whatever you want to call the rule)
- Zip/Post is Range– Leave checkbox unchecked
- Zip/Post Code– Leave the ‘*’ here as it will apply to all postcodes
- Country– Select United Kingdom
- Rate percent– Add ’20’
 Now you’ve created a new Tax Rate called VAT at 20% (or the rate that’s applicable to you), then all you have to do is to click Save Rule
